

How Do You Backstitch an Embroidery Outline?
To backstitch a continuous outline, bring the needle up ahead of the last stitch, then take it down through the same hole at that stitch’s forward end. Use shorter stitches around tight bends.
By BeenEast Editorial · Published · Reviewed
Set up a practice line
Backstitch makes a continuous line from short stitches that meet end to end. The outline grows forward as you work, even though each stitch on the front goes backward to meet the one before it.
Sources: Royal School of Needlework · Back stitch
The China National Silk Museum in Hangzhou demonstrates running stitch and backstitch side by side in its traditional hand-sewing lesson. Compare where the needle goes down. A running stitch keeps moving forward and leaves a gap on the front. A backstitch takes the needle back to the previous stitch’s end, so the two stitches meet and form a continuous outline.
Sources: China National Silk Museum · Traditional hand-sewing stitches
Put a scrap of smooth woven cotton in a screw hoop. Keep the fabric flat and the threads of the weave straight. Thread a sharp embroidery needle with two strands of cotton floss that contrast with the fabric. With a fabric marker you have tested on a scrap, draw a short line and mark four evenly spaced points, 1 through 4 from left to right. Leave room beyond 4 for a longer row.
Sources: DMC · Using an embroidery hoop
Leave a starting tail long enough to thread back into the needle later. Hold it gently against the back while making the first few stitches. The diagram labels this tail A and the thread attached to the needle B.
Come up ahead and stitch back
Make the first stitch from 2 to 1
Bring the needle from the back to the front at 2. Take it down at 1 and pull just until the stitch lies flat.
Come up at 3
Move forward on the back from 1 to 3, past point 2. Bring the needle up at 3.
Go back down through hole 2
Aim beside the thread already in hole 2 so the needle can pass through the same hole without splitting the thread. Pull until the two stitches meet and lie flat.
Finish the four-point line
When the join at 2 lies flat, move forward on the back and come up at 4. Take the needle down through hole 3 beside the existing thread. The outline ends at 4. The needle and working thread B are on the back at 3.
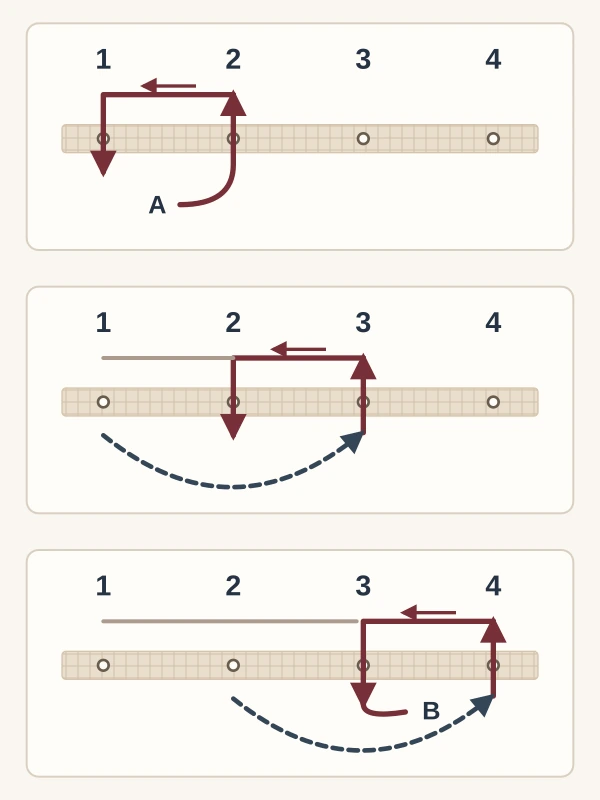
The side view lifts the thread away from the cloth so you can follow each turn. On your fabric, let each stitch rest against the surface. To keep the line going after 4, come up at a new point ahead of 4 and return through hole 4. Continue this repeat for a longer practice row with several stitches on the back to hold the tails.
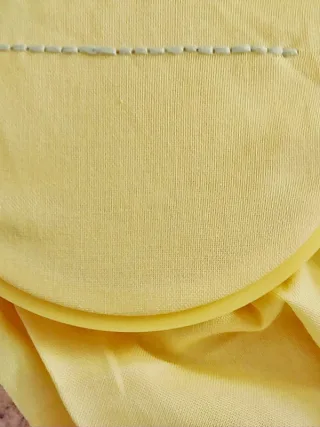
The yellow sample is a separate finished example.
Sources: Most Craft · Back stitch sample (original) · Most Craft · Requested photo credit · CC BY 2.0 license

Follow a curve or sharp point
Draw a gentle bend and a tighter one beside the straight row. Each backstitch is a straight segment, so shorten the stitches before a tight turn. If one long segment cuts across the drawn bend, remove it and try two shorter stitches along the line.
At a sharp tip, put a hole right at the point. Come up at the tip to work the segment that leads into it. On the next stitch, come up beyond the tip and return down through the tip hole. This lets the two sides meet at the corner.
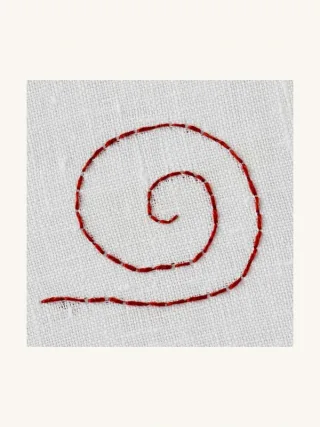
The spiral is a separate practice sample.
Sources: TatjanaLT · Backstitch spiral (original) · CC BY 4.0 license

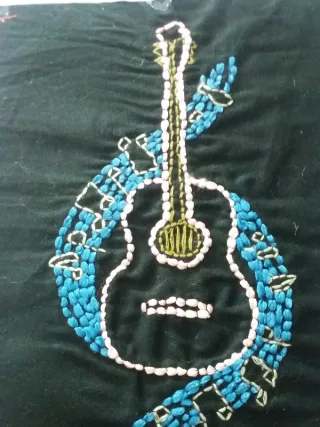
The guitar is a separate finished example of an outline.
Sources: Karthikasree · Back stitch guitar (original) · CC BY-SA 4.0 license

Check the line and fabric
Inspect the front before trimming the thread. At a gap, check that both stitches meet at one hole and lie flat. At a fuzzy join, check whether the needle went through the earlier thread. If a return went into the wrong place, ease out that stitch and redo it beside the existing thread in the same hole.
Loosen the hoop and lay the cloth flat. If it puckers, first check for fabric that slipped in the hoop or was stretched off grain. If the weave is straight and the ripples pull inward at the stitch holes, try a gentler pull on a new row on the same cloth. Release it from the hoop again. Move on when the line joins cleanly and the fabric stays flat.
Secure both tails on the back
Turn the cloth over. On the longer row, slide the needle under several existing back stitches without bringing it through the cloth. Rethread tail A and tuck it under several stitches near the start. Check that a light tug does not loosen either tail. Turn the cloth over again and make sure the line still lies flat before trimming the excess on the back.
Sources: DMC · Securing embroidery thread
Try a small motif with both a straight edge and a bend. Use the straight section to check your joins and the bend to see where shortening a stitch keeps it on the drawn line.
Continue reading
References
Royal School of Needlework · Back stitch
DMC · Using an embroidery hoop
DMC · Securing embroidery thread
Most Craft · Back stitch sample (original)
Most Craft · Requested photo credit
TatjanaLT · Backstitch spiral (original)
Karthikasree · Back stitch guitar (original)
China National Silk Museum · Traditional hand-sewing stitches