

How embroidery makes a clothing repair look intentional
max ·
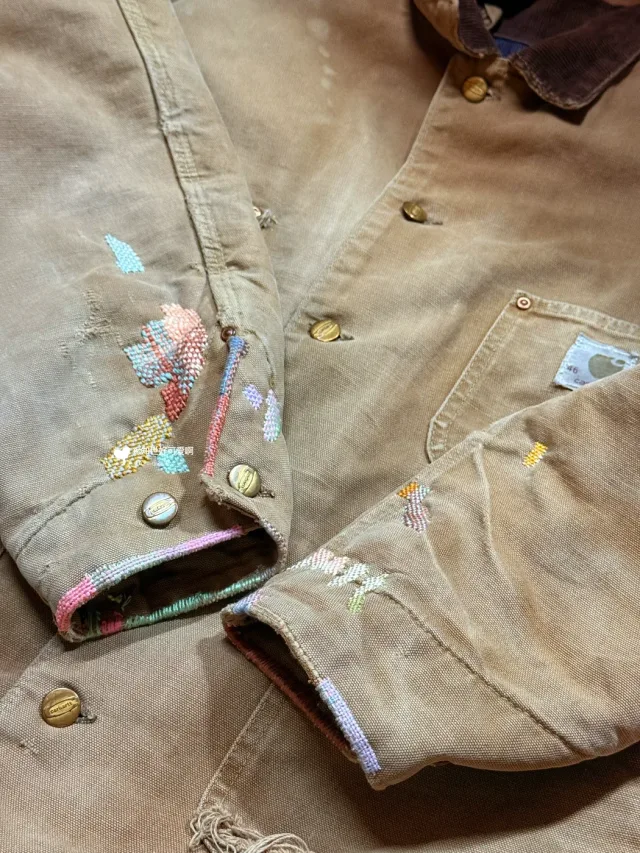
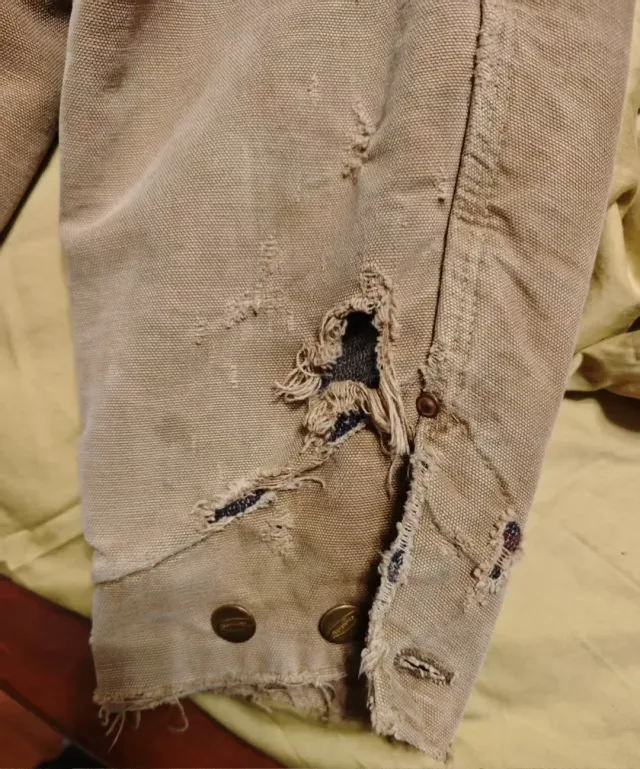
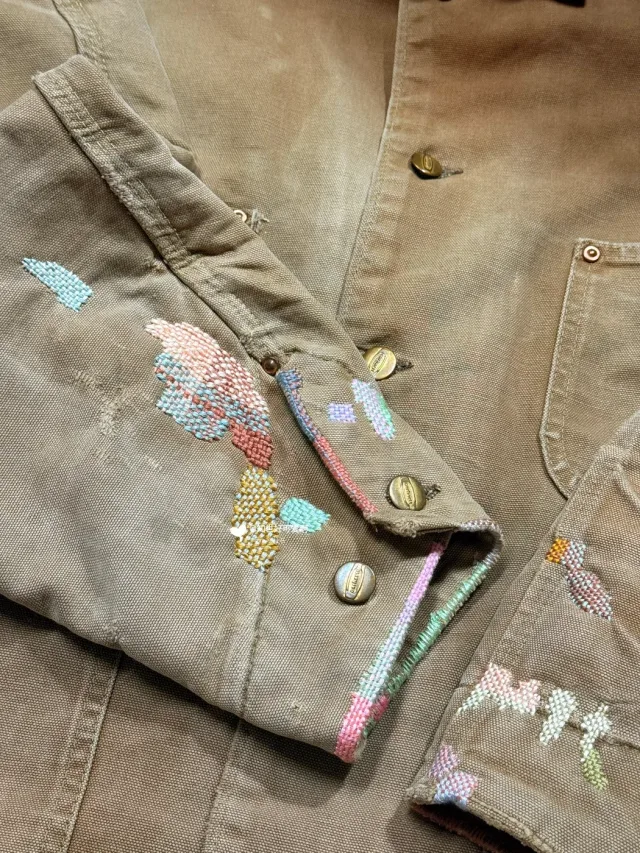
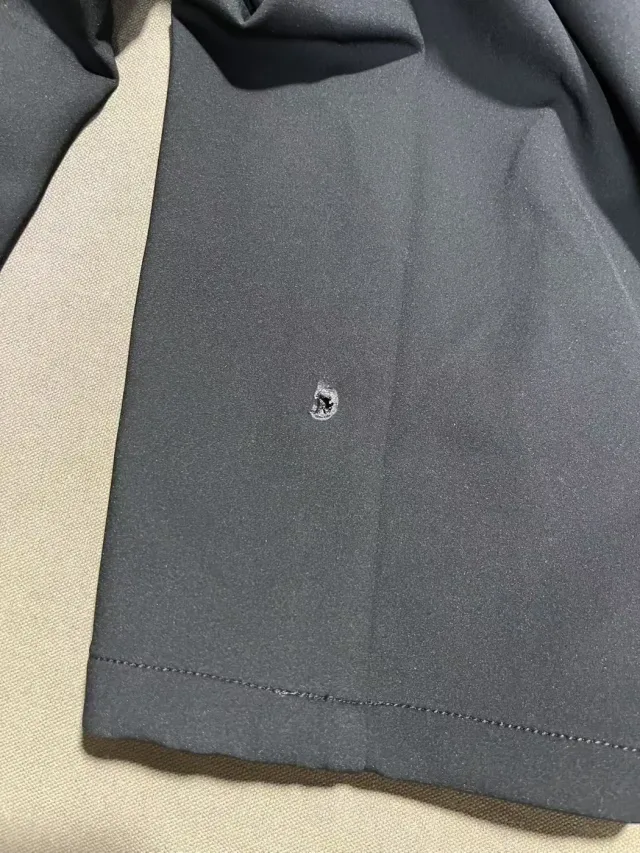
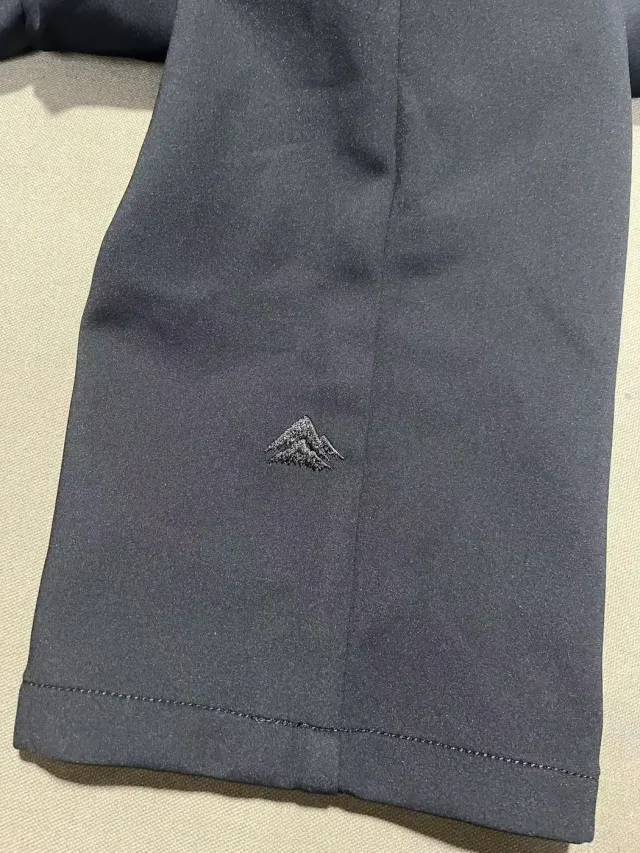
An embroidered repair looks at home when its size, color, and placement make sense on the garment. On this tan jacket, colored stitches repeat across both cuffs. On a separate pair of dark pants, a small gray mountain sits just above the hem where there was a hole.
Follow the colors around the cuff
The jacket maker shows frayed holes around a snap cuff. In the finished close-up, the largest cluster of pink and blue stitches sits beside the cuff opening. Smaller shapes pick up those colors nearby, and a narrow band of stitches follows the edge. From farther away, the repeated colors tie the two cuffs together.
Compare a small repair near the hem
The pants show what a repair can look like at a smaller scale. The first view shows a single hole above the hem. In the next, a low mountain shape sits in the same area. The thread is close to the color of the fabric, so the outline is easiest to see up close.
Check the design from farther away
Before choosing a motif for a repair, look at the whole garment. A cuff, seam, or hem gives you a line to work with. Hold a few threads against the cloth in daylight, then step back. You can see whether a small motif sits quietly on its own or whether repeating a color nearby would connect it to the rest of the piece.
 Embroidery
Inspiration and guides on embroidery.
Explore Embroidery