

How stitch spacing shapes a line of sequins
max ·
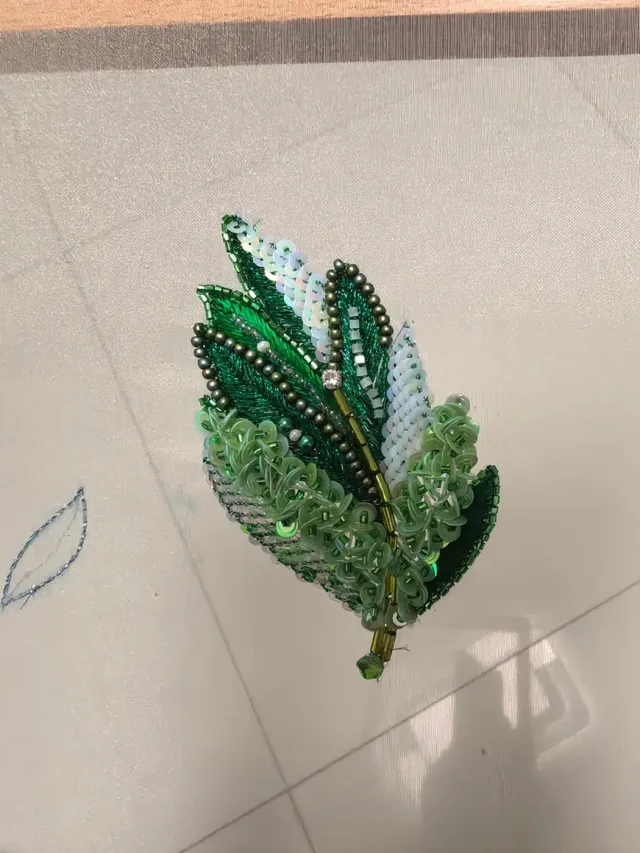
A row of sequins looks like scales when each disc covers part of the one beside it. In the green leaf sample, that overlap makes the pale sequins read as a continuous band. In the separate practice piece, the discs are easier to count where they spread apart.
See which side the hook works on
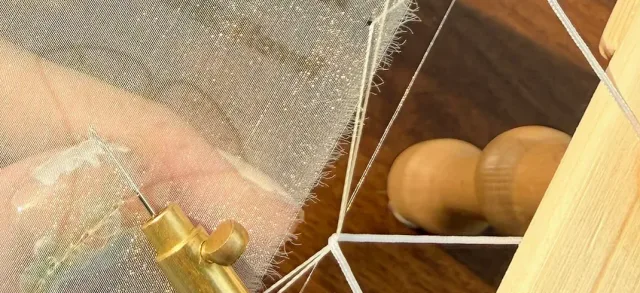
The close-up shows a tambour hook at the sheer fabric and the maker’s fingers on the other side. In Lunéville embroidery, a kind of tambour work, the hook makes linked loops on the working side while the sequins are fed from below. Each new stitch sets the position of the next sequin.
Compare close stitches with wider ones
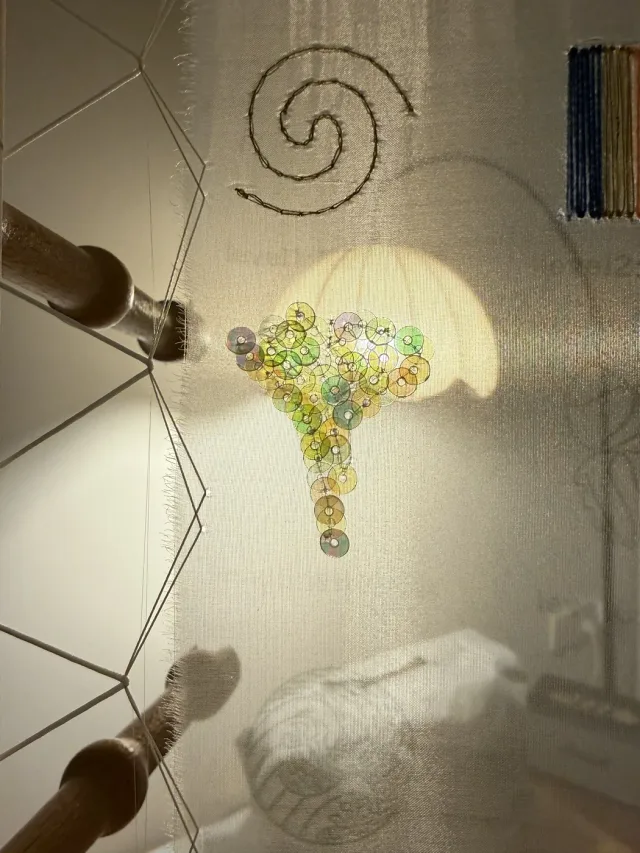
In the backlit sample, look from the broad cluster down to its narrow tail. Some discs cover much of their neighbors, while others leave more of the rim visible. When the stitches along a row are closer together than the width of the disc, the sequins can overlap. Increase the spacing and you can see more of each disc.
Follow a band around a curve
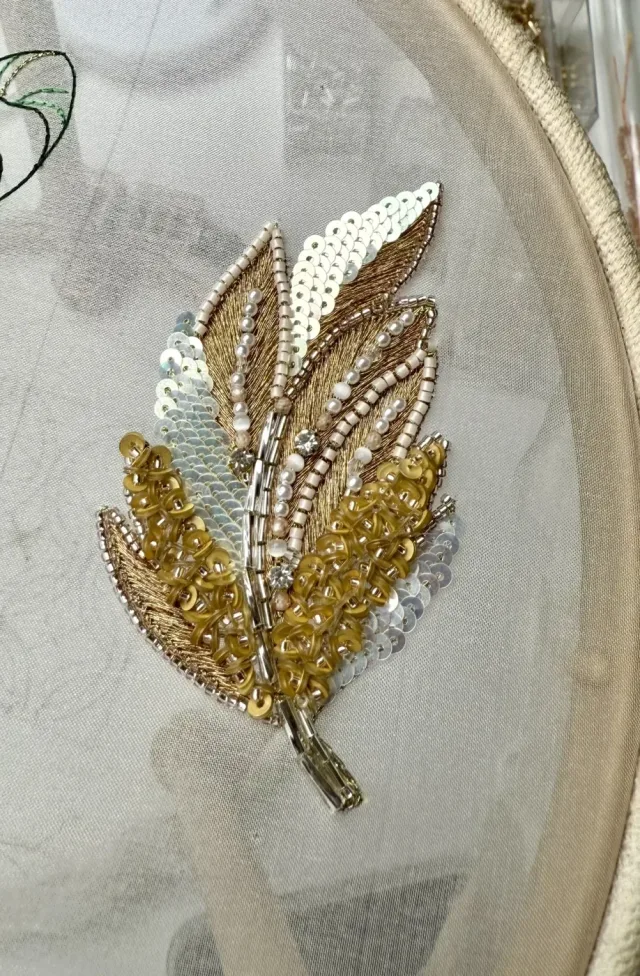
The gold leaf is a separate example made by the instructor. Its flat silver sequins overlap along the curve, while the small round beads trace a distinct line beside them. To compare two rows, follow the centers of the sequins and see how much of each rim remains visible.
 Embroidery
Inspiration and guides on embroidery.
Explore Embroidery