

What makes a running-stitch row look even?
max ·
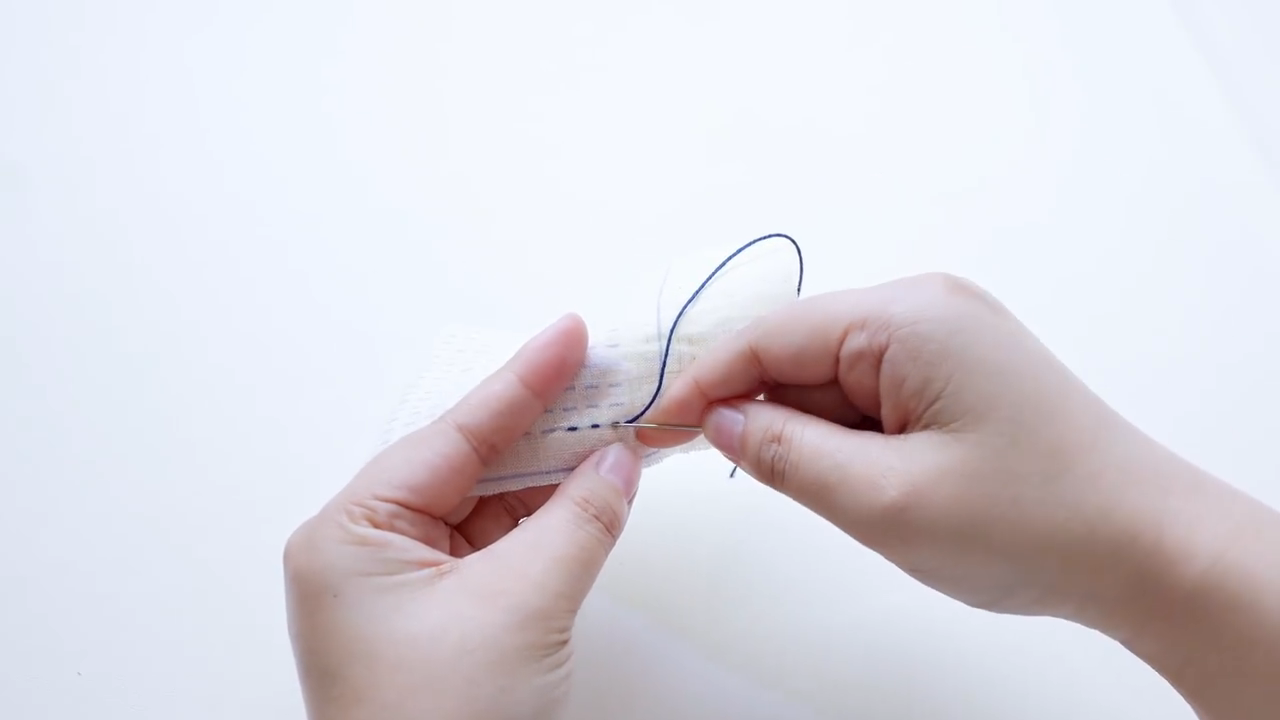
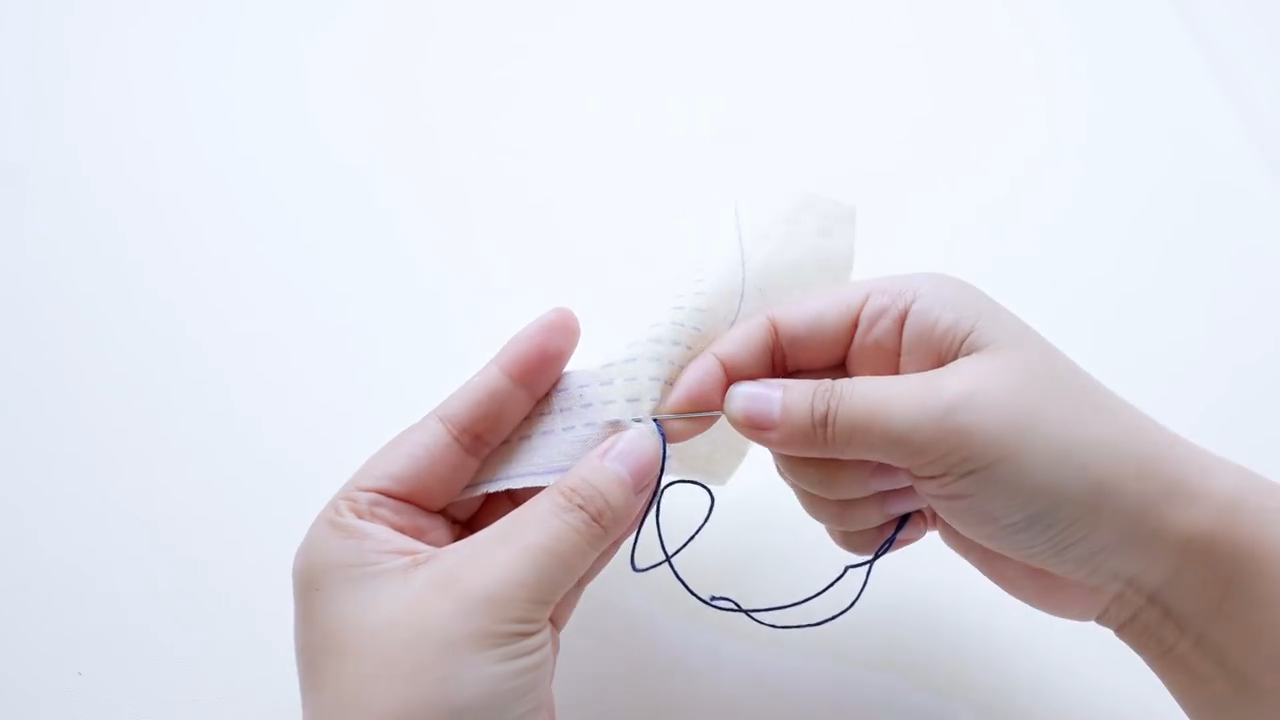
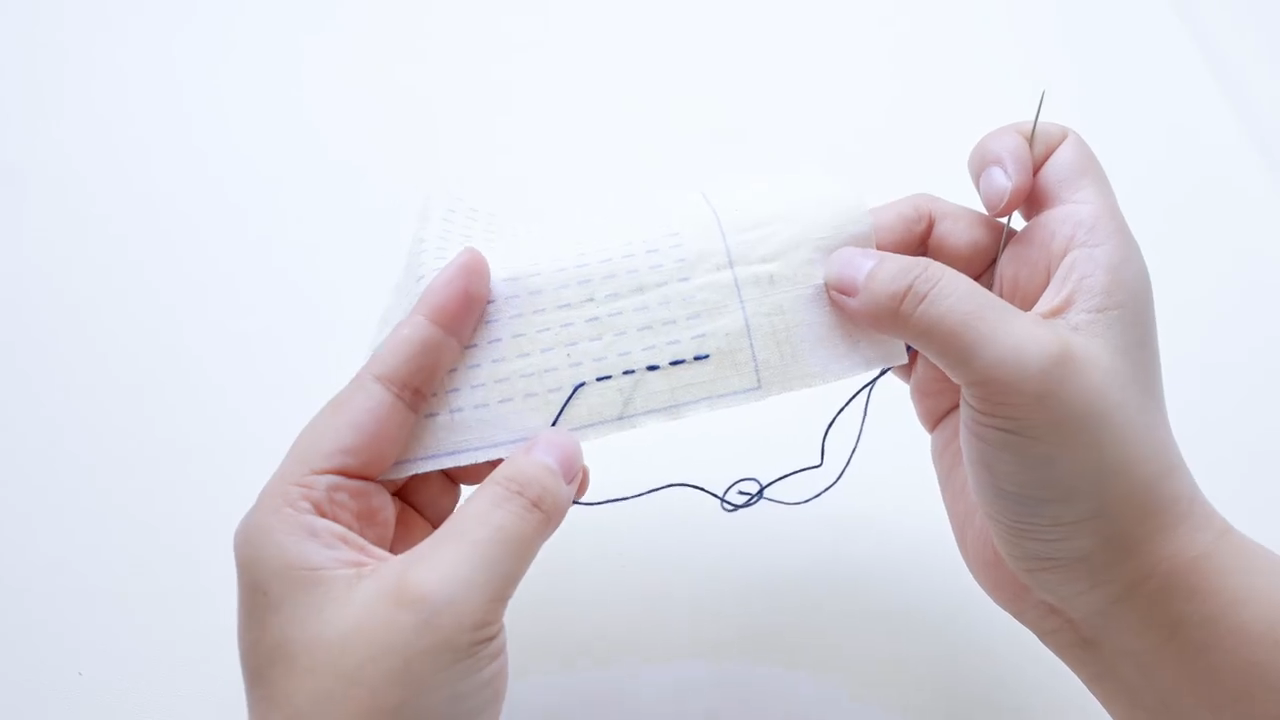
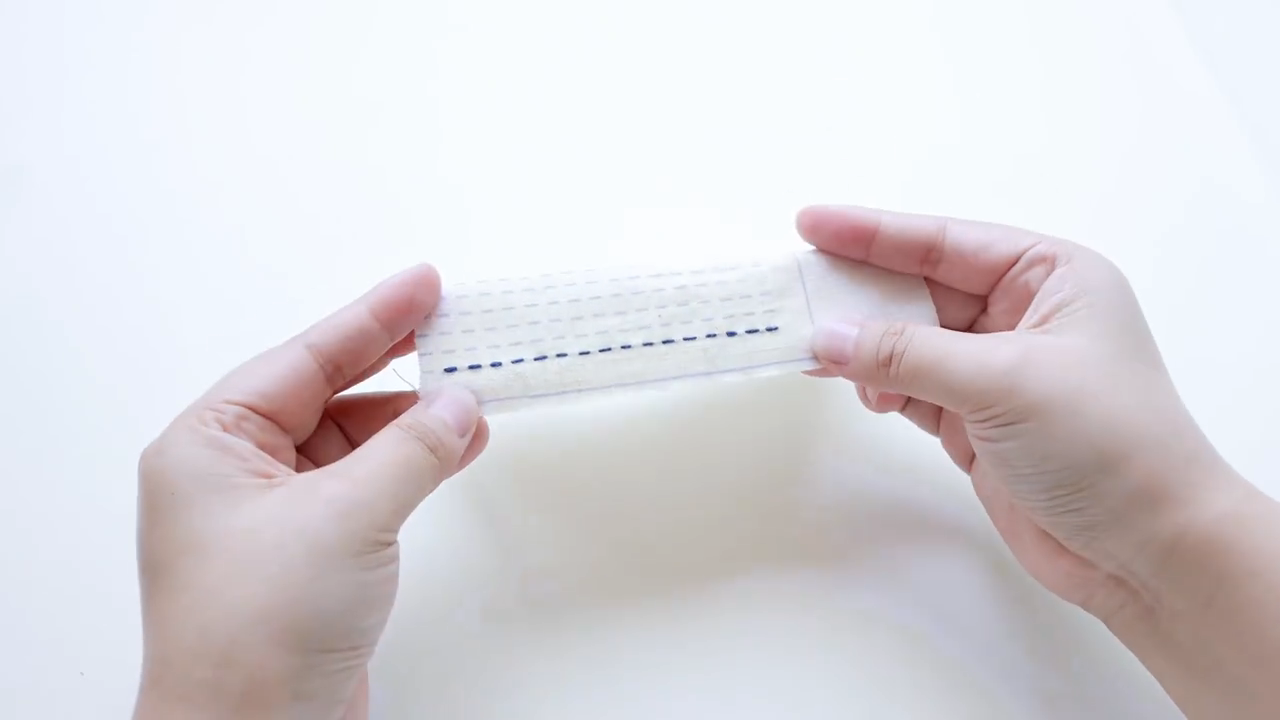
Let the stitches settle against the cloth, open out the sample, and compare the blue stitches with one another before checking the bare gaps between them. These are separate checks: similar stitch lengths can still be separated by uneven gaps. Running stitch makes a dashed line by bringing the needle up and down through the fabric. These four photos follow one hand-sewing demonstration on a light practice strip with pale guide marks.
Wait until the working section opens out
In the first two photos, the fingers hold the working section close to the needle, with loose blue thread extending away from the working area. Part of the cloth is folded between the hands. This view helps you locate the needle and thread, but it hides some of the row. Wait until that section opens out before judging the spacing. Follow the dark blue thread against the cloth; the paler broken marks are the guides.
Read the dashes first, then the gaps
The third photo exposes a short blue row, while the fourth shows a longer stretch held open. Move your eye along the dark dashes first, keeping their ends in view. Look for a dash that is noticeably longer or shorter than its neighbors. Then look at the bare intervals: is one gap much wider or narrower than the others? The loose blue loops below the strip in the third photo sit outside the row being compared.
Check spacing with the cloth relaxed
For your own practice sample, use the linked running-stitch guide to make a short row, then lay the cloth flat before securing the ends. Compare the dashes first and the gaps second. If a gap varies, check the needle holes against your marks. If a loop stands above the cloth, ease the slack toward the loose end. If the cloth ripples along the row, loosen or undo the tight stitches and resew with a lighter pull. The hands in these photos hold the sample open; a final tension check needs the cloth resting flat.
Related resource
 Embroidery
Inspiration and guides on embroidery.
Explore Embroidery