

What Supplies Do You Need to Start Hand Embroidery?
For your first stitched outline, gather woven cotton, six-strand cotton floss, a sharp embroidery needle, a small hoop, and thread snips or sharp scissors. Use two strands to test the setup on a scrap.
By BeenEast Editorial · Published · Reviewed
Choose a fabric that makes stitches easy to see
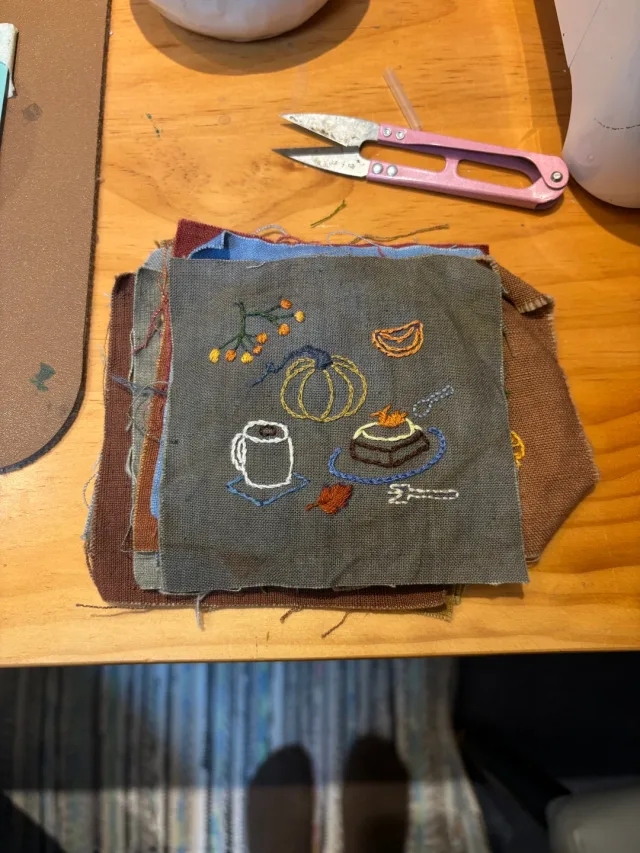
For a first outline, try smooth, low-stretch quilting cotton or cotton muslin. Choose thread that contrasts with the cloth so you can see where the needle enters and comes out. Dark thread works well on pale fabric, and pale thread stands out on a dark scrap like the one below. Set your hoop on the cloth before cutting. Leave fabric beyond the rim on all sides so the rings can grip it.
Sources: DMC’s fabric preparation guide
Fit the needle to the two strands
Six-strand cotton floss comes as six strands you can separate. Cut a short length with thread snips or sharp scissors. Pull out one strand at a time, then lay two strands together and thread them through the needle. Leave a short tail at the eye and stitch with the long end. If a pattern gives a strand count, use that count for the project.
Sources: DMC’s guide to stranded floss
Use a sharp embroidery needle. If the strands snag as you thread it, try a needle with a larger eye. Once threaded, make a few stitches on your scrap. The needle should go through without tugging the cloth. If it leaves holes that still look wider than the thread after you stitch, try a finer needle with an eye that still fits both strands.
Sources: DMC’s embroidery needle reference
Set the fabric flat in the hoop
Pick a screw hoop you can hold comfortably in one hand. Lay the cloth over the inner ring, press the outer ring down over it, and tighten the screw until the cloth stays flat and still. Check the weave near the rim. If the threads pull sideways, loosen the screw and straighten the cloth before tightening it again.
Sources: DMC’s guide to using a hoop
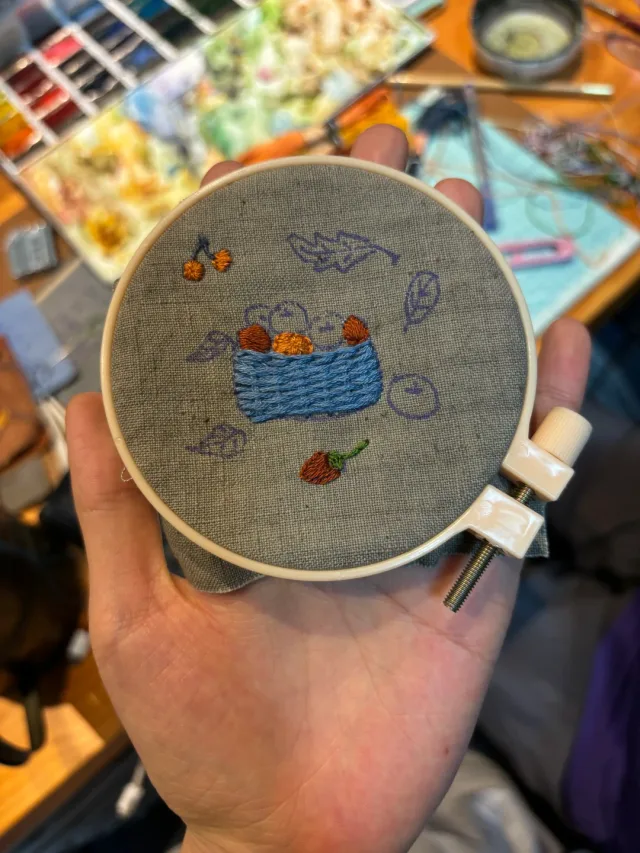
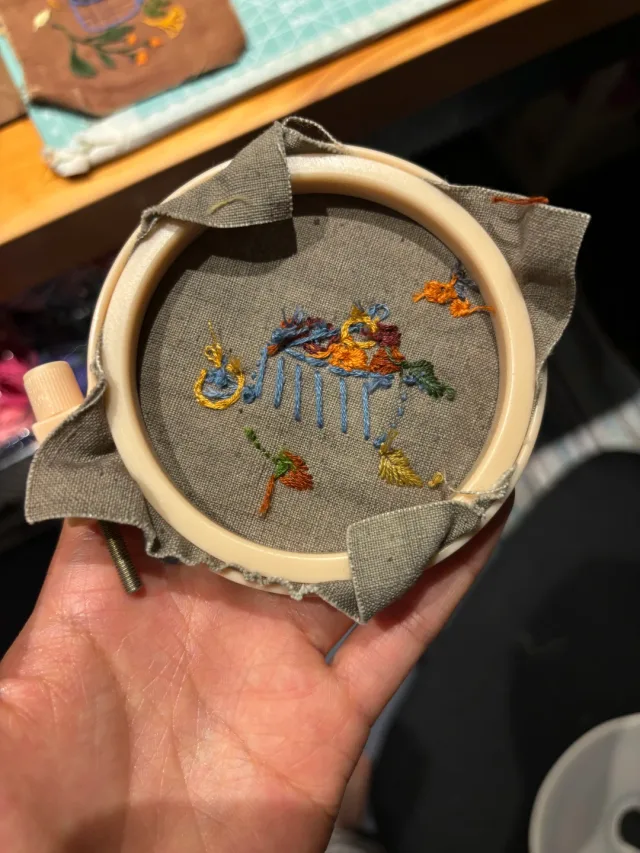
Turn the hoop over to check the cloth around the rim. The fabric should stick out past both rings all the way around. If one edge barely reaches the rim, recenter the cloth or use a larger scrap. If the cloth slides while you pull the needle through, reset the hoop before judging how hard you are pulling the thread.
Test a short line before stitching the design
Work a short line of backstitch with two strands. In backstitch, the needle comes up ahead of the last stitch and goes back into the hole at its forward end. The stitches meet to form an outline. Pull each stitch until the thread rests against the surface. If you want a fuller line, try a second row with three strands on the same scrap. Keep the stitch length the same. If three strands need a different needle, check the fit again and note the change.
Sources: RSN Stitch Bank · Back stitch
Take the scrap out of the hoop and lay it flat. The stitches should rest against the cloth and the fabric beside them should stay smooth. If the cloth slipped in the hoop or the needle dragged, fix that first. If a stitch forms a loose loop, draw it through just until it lies flat. If the cloth puckers beside the line, pull more gently on the next row. Change one thing at a time and test another short line.
Keep the swatch that worked
Label the row you would use with the fabric, needle size, and strand count. For a fine outline, keep the two-strand setup if the line is clear and the fabric stays flat. If a fuller row lies just as flat and suits the design, keep that setup too. Next time you change fabric or thread, the labeled swatch gives you a starting point for a new test.
Continue reading
References
DMC’s fabric preparation guide