

How to Compare Two Hand-Dyed Swatches
Move one tie, hold the dyeing conditions steady, and compare where the pale band lands on two dry cotton swatches.
By BeenEast Editorial · Published · Reviewed
Choose one thing to change
Cut two equal swatches from the same cloth, change one part of the process, and compare both after the same rinse, wash, and drying steps. For this test, move the tie and check whether the pale band moves with it. A swatch is a small piece of fabric you can test before dyeing the full piece.
A tie squeezes the folds together and limits how much dye reaches the cloth beneath it. Put the tie halfway along swatch A and closer to one end on swatch B. Keep the fold, cord, and tension as similar as you can so you can compare the position of the band.
Cut, mark, and tie the pair
Cut both rectangles next to each other from one piece of cotton. Keep their long edges running in the same direction along the cloth, and prepare both together according to the dye instructions. Fabric finishes can change how much dye gets in, so use the same washed fabric for both swatches.
Sources: Dharma Trading — Fiber Reactive Dye Expectations · Dharma Trading — Tie-Dye Instructions
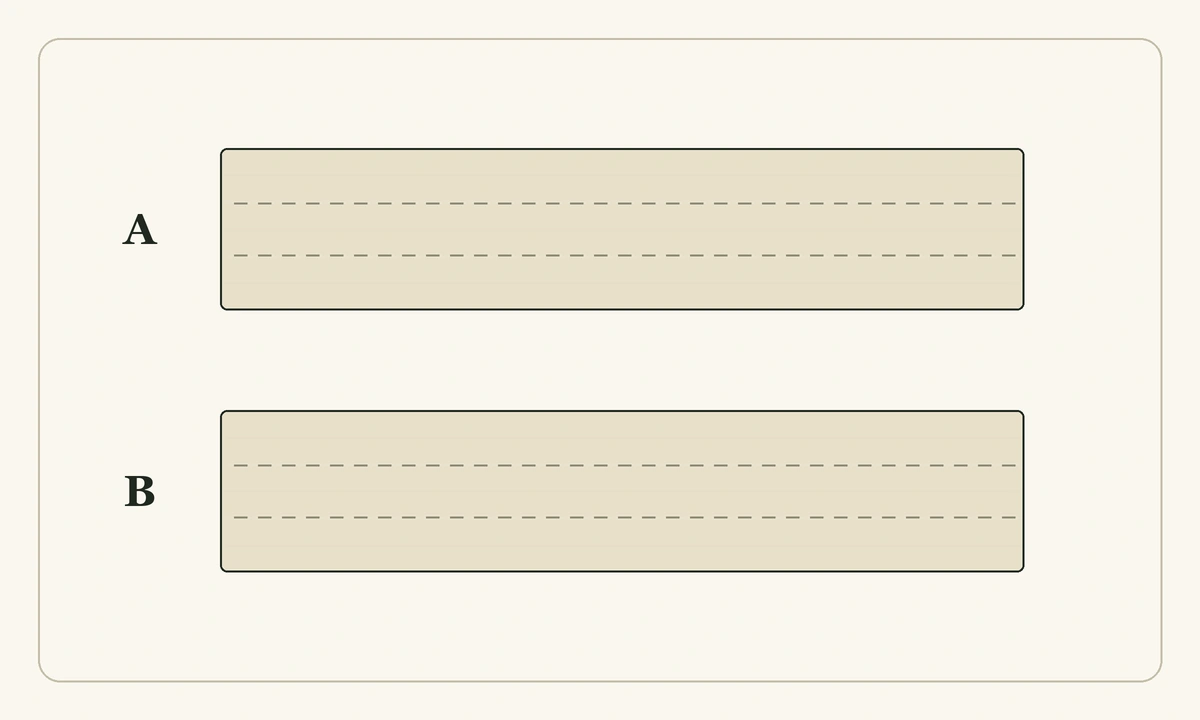
On two label cards, draw the rectangles and mark the same reference end, such as the end closest to the fabric’s selvage when you cut it. The selvage is the finished edge of the fabric. Fold both rectangles into strips the same way, then mark each tie position on its card before dyeing.
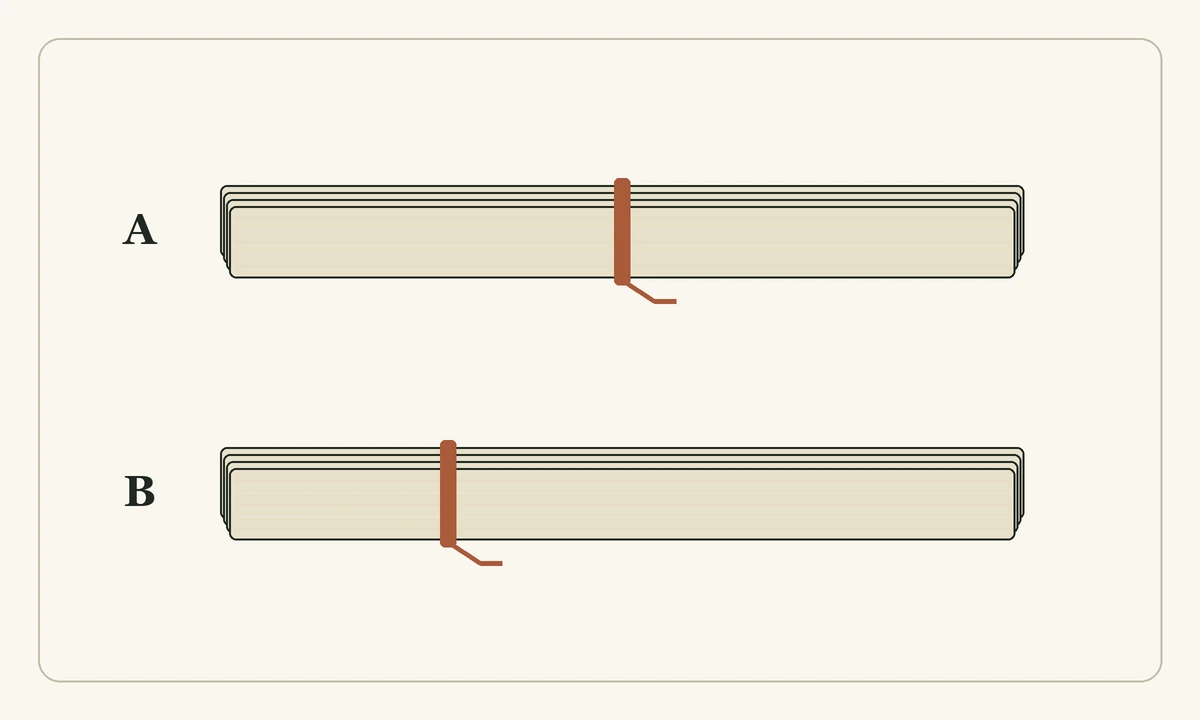
Dye and finish both the same way
Use the same prepared dye and follow the same timing, application, and finishing directions for both. For a cotton tie-dye product applied from a bottle, keep the amount and placement of dye on the exposed cloth as similar as you can. Turn both over if the directions call for applying dye to both faces.
Sources: Dharma Trading — Tie-Dye Instructions
Record any difference you noticed while handling the cloth. A loose tie lets more dye reach the folds, which can make the band less distinct. If a tie slipped along the strip, the band may also shift. Mark that swatch on its card and repeat the pair before drawing a conclusion about tie position.
Read the pale band on dry cloth
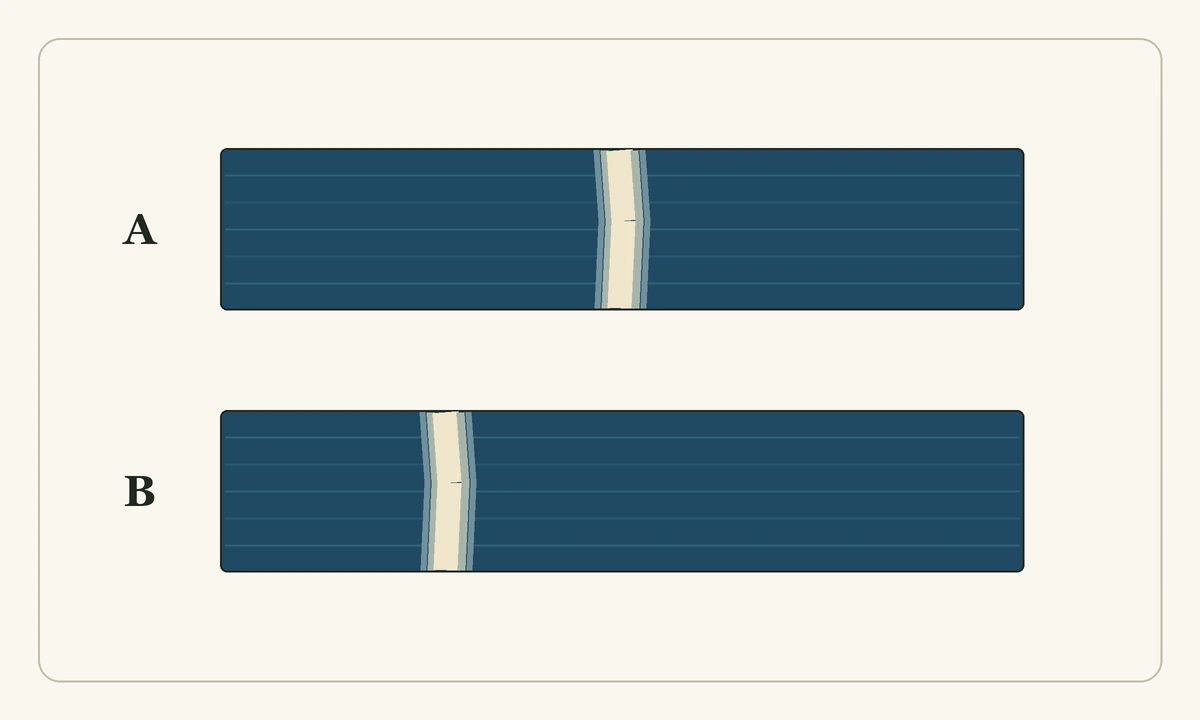
Let both swatches dry completely. Set them flat on the same neutral background, under the same light, with their reference ends pointing the same way. Measure from that end to the middle of the pale band on each swatch. If the band curves or breaks, compare at the same point across each strip, such as its centerline.
Read the location first. If B’s band lies closer to the reference end and both bands are about as sharp, the result is consistent with the change you made. If B’s band also fades into the blue much more gradually, check the tie and how the dye reached the folds. A difference in edge softness alone leaves the cause uncertain.
Catharine Ellis documented a separate experiment with cotton folded and clamped for indigo dyeing, a technique called itajime. These are photographs from that experiment, not results from the tie-position exercise above. Compare where the blue reaches across each opened cloth before judging how dark it looks.
Sources: Catharine Ellis — Indigo Dyeing: Time and Patience
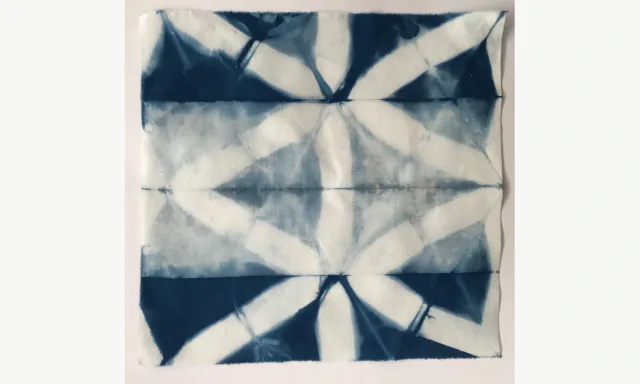
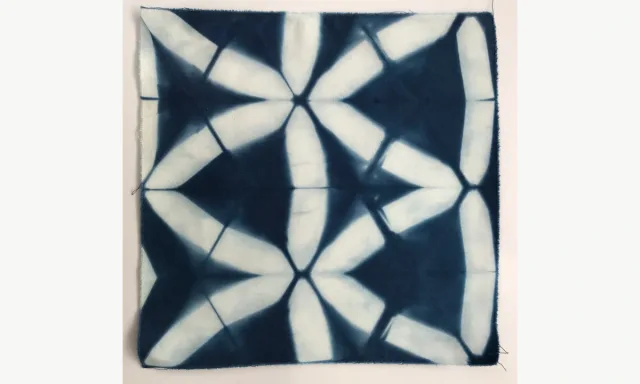
Ellis attributes the difference to dye reaching the inner folds during the longer immersion. Her comparison changes both the length and number of immersions, so it does not isolate duration alone.
Sources: Catharine Ellis — Indigo Dyeing: Time and Patience
Use this case to check coverage, not to rank dye strength from photographs taken separately. Record each immersion and the number of dips in your own test. The 24-hour treatment belongs to this documented indigo experiment; it is not a timing instruction for your dye product.
Keep enough detail to repeat it
Take one photo with both dry swatches and both labels in the frame. Keep it with the fiber and dye names, the fold, the tie positions measured from the same end, and the wash and drying method. Note any loose tie or uneven dye application beside the affected swatch.
For example, record “B’s band is closer to the marked end, and both bands have similar edges.” Repeat that fold and tie position on a larger scrap before dyeing the full piece. A wider or thicker bundle may let the dye reach different layers, so check the band again at the new size.
Continue reading
Reuse and citation
English PDF and Markdown contain the text; their photo links open the illustrated guide.
BeenEast Editorial. How to Compare Two Hand-Dyed Swatches. Version 1.0 (2026-11-13). https://community.beeneast.com/guides/hand-dyeing-swatches
Three diagrams explain the planned tie-position test. Two photographs document a separate published indigo immersion comparison by Catharine Ellis.
References
Dharma Trading — Fiber Reactive Dye Expectations