

What should you check before stitching in a hoop?
max ·
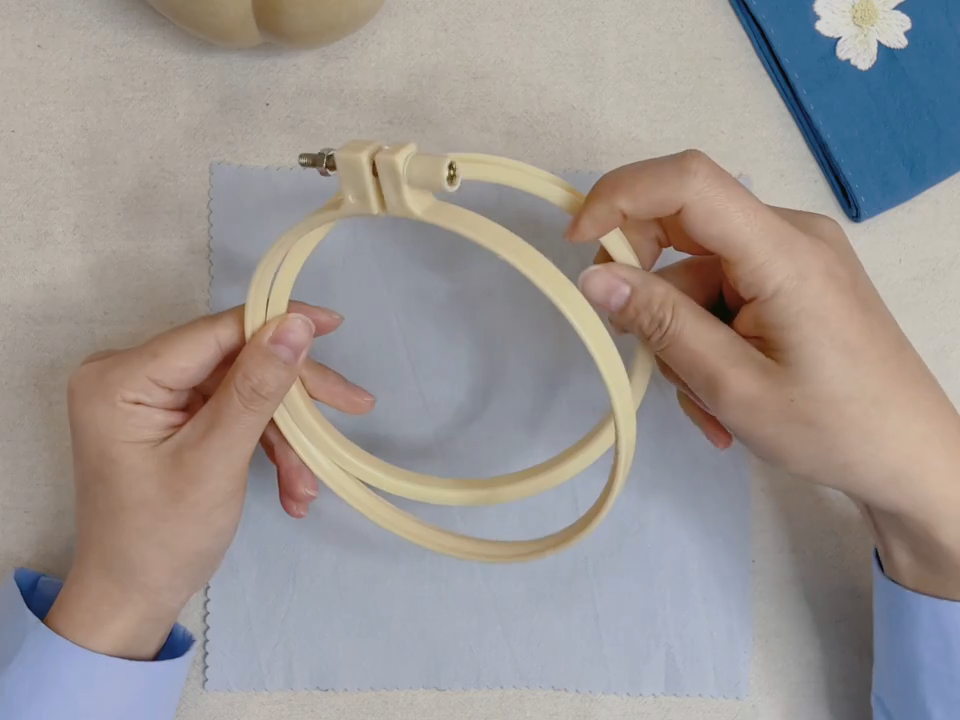
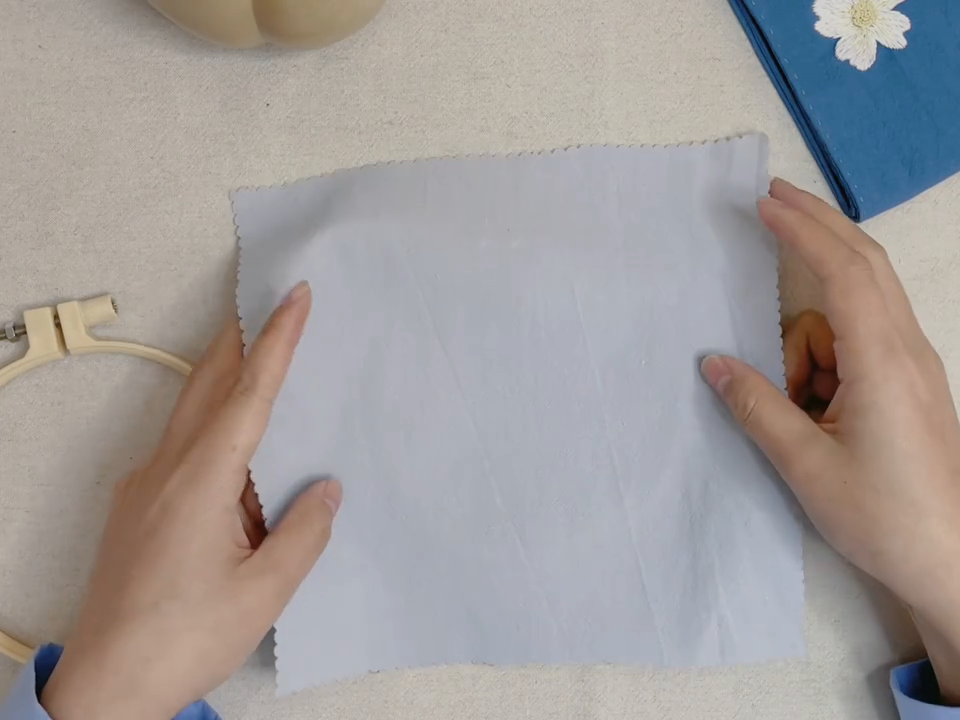
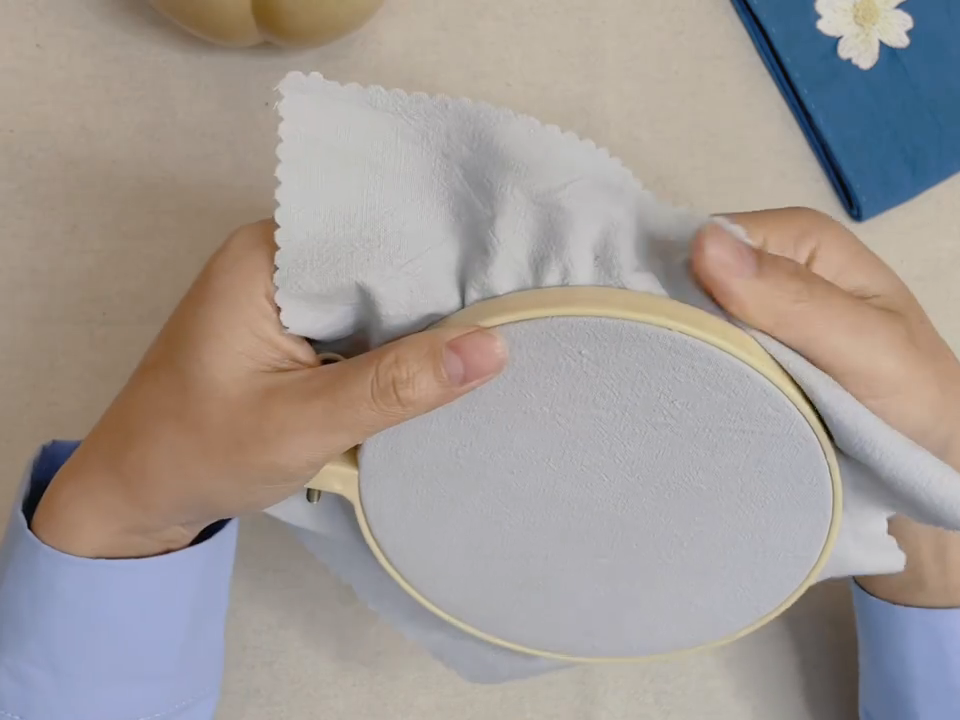
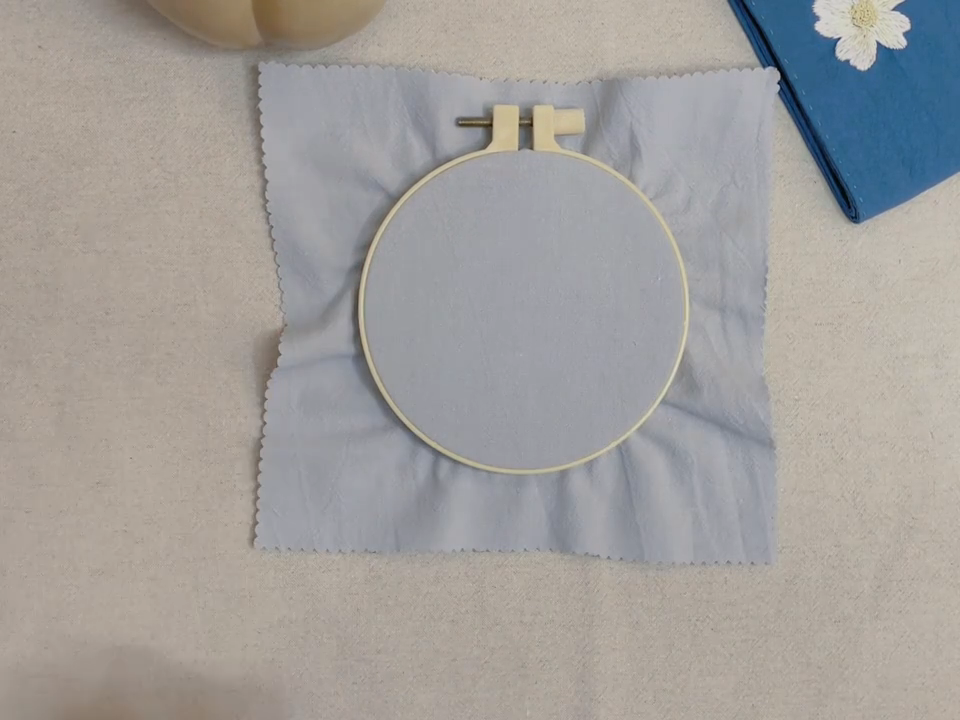
Check the fabric inside the circle, the spare cloth outside it, and whether the cloth stays put as you stitch. Wrinkles in the loose margin do not, on their own, mean that the working surface is loose. These four photos follow one screw-hoop setup, from separated rings to mounted pale cloth. The last photo shows the center lying relatively smooth while the surplus fabric outside the rim remains wrinkled.
Leave a margin beyond both rings
The first photo shows the plain inner ring and the adjustable outer ring separated. The second shows the cloth being laid out, with the outer ring set aside on the left. The linked supplies guide explains the arrangement: lay cloth over the inner ring, then press the loosened outer ring over both. Leave fabric beyond the rim on every side. That margin gives the rings something to grip and gives your fingers room to make small adjustments.
Adjust around the rim without skewing the weave
In the third photo, the hands hold close to the rim while the loose fabric extends above it. The video works around the edge to adjust the cloth before its final tightening. For your own smooth woven practice fabric, look at the weave near the ring as you make small, even adjustments around it. The thread directions should stay straight rather than being dragged toward one side. If they skew, loosen the screw and reset the cloth. The fine weave is not clear enough in these stills to certify its alignment.
Test the grip with a short row
In the fourth photo, the hoop rests on the table with cloth extending beyond its entire circumference. Compare the enclosed working area with the loose outer margin. A flat-looking center is a useful visual check, but a photo cannot tell you how firmly the rings grip. Sew the short test row in the supplies guide: if the cloth slides as the needle passes through, reset the hoop before changing your stitch tension. For a first trial, use the guide’s low-stretch woven fabric setup; these photos do not establish the cloth’s fiber or measurements.
Related resource
 Embroidery
Inspiration and guides on embroidery.
Explore Embroidery