

What to watch at the tip of a satin-stitched leaf
max ·
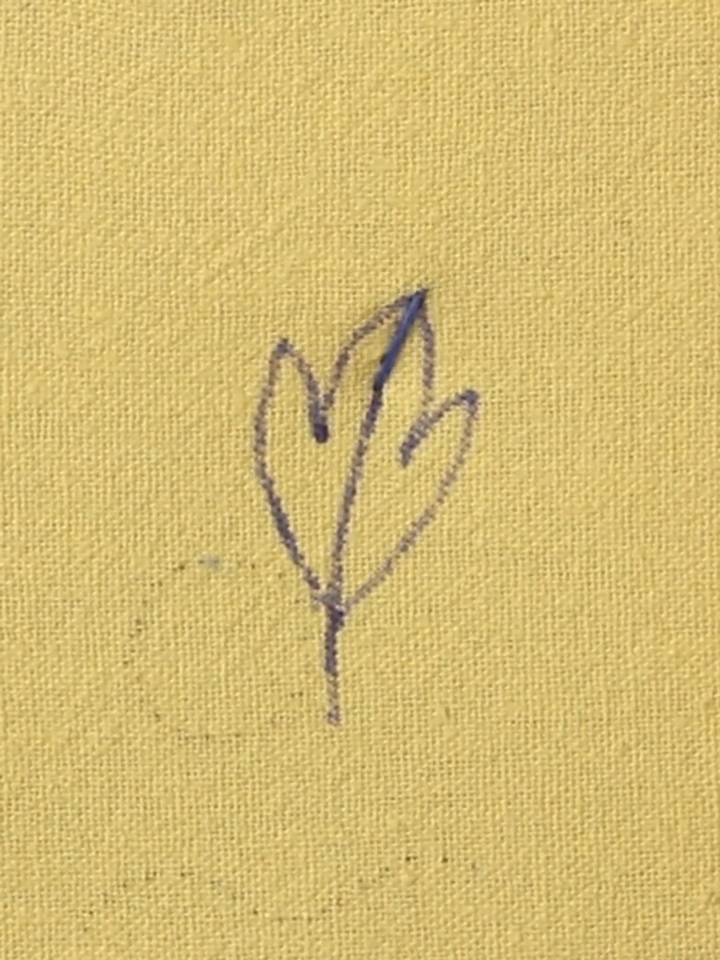
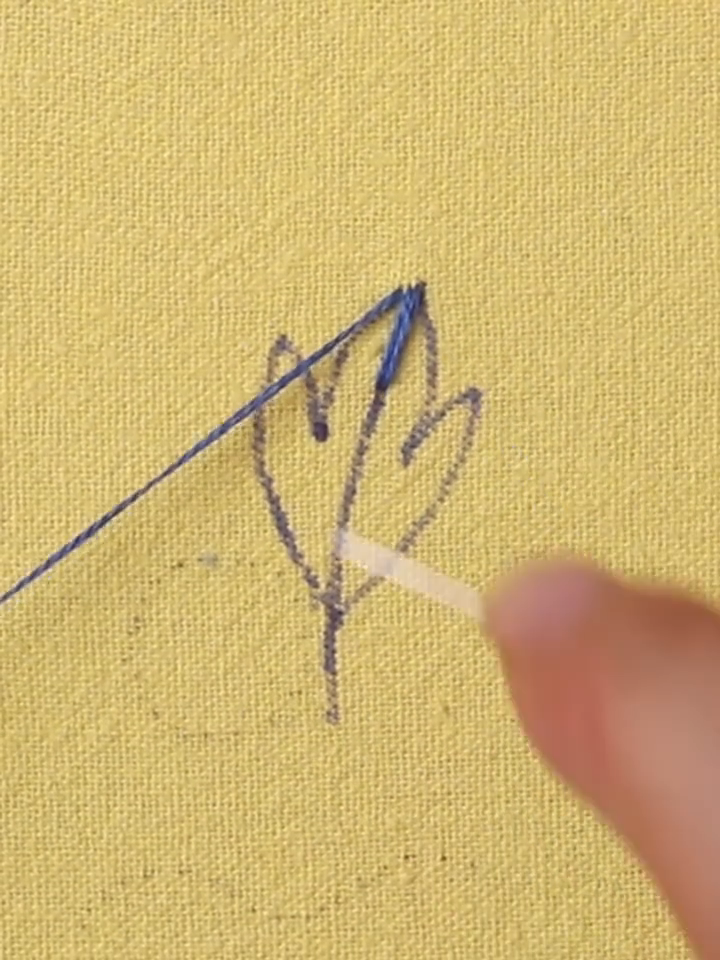
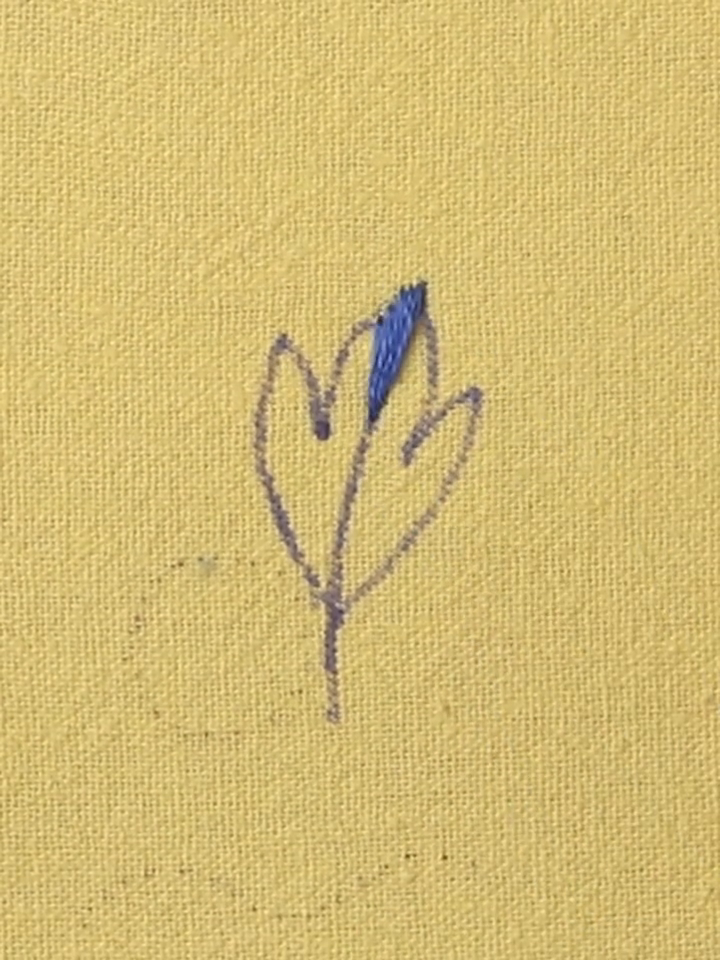
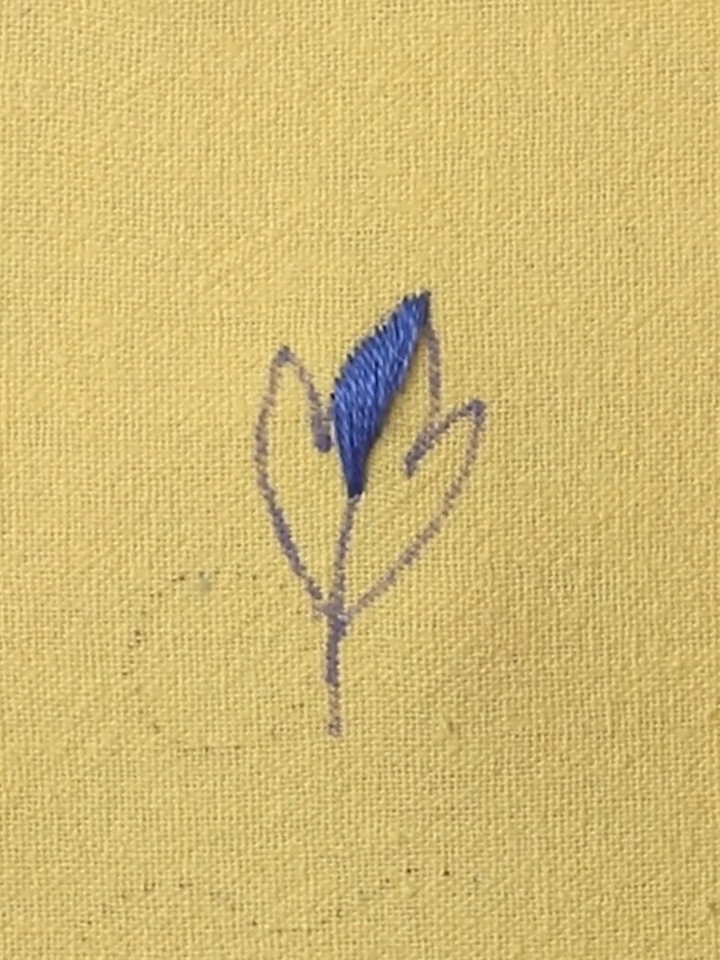
As a practice leaf narrows, shorten the stitches and keep their ends advancing along its two edges. Crowding several ends into one hole can leave a raised spot at the point. These four stills from one continuous embroidery demonstration show blue satin stitches—straight stitches laid side by side—filling the central lobe of a three-lobed leaf on yellow fabric.
Locate the point before following the needle
In the first photo, the pointed outline is still visible beside the first blue stitches. Follow that outline down each side of the central lobe. It gives you two boundaries against which to judge the stitch ends as the filling grows. This demonstration begins near the tip. The linked small-leaf guide starts across the middle and works toward each end, giving a beginner a wider area in which to establish the angle.
Watch the filling grow beneath the tip
In the second photo, the needle and working thread extend out from the blue filling. In the third, more of the same central lobe is covered. Trace the ends of the settled stitches where blue thread meets yellow fabric, then compare them with the fuller shape in the fourth photo. A working loop can temporarily cross the empty area; judge coverage once that thread has been drawn through and lies against the cloth.
Use the remaining gap to place the last stitches
On your own narrow practice leaf, keep the same slant as the shape tapers and make each span shorter. Check both ends of the next stitch before pulling it through: a visible gap at one edge tells you where to place that end closer to its neighbor. Near the tip, use the remaining sliver of bare cloth to position the last stitch. If the ends pile into one hole, undo the crowded stitches and redistribute them along the edges. The linked guide explains the needle path and the middle-to-tip sequence.
Related resource
 Embroidery
Inspiration and guides on embroidery.
Explore Embroidery