

How to Tie-Dye an Indigo Circle on Cotton
Make one pale ring on a cotton swatch with a rubber band and an indigo vat. Learn where to bind the cloth, when to untie it, and what to check if the ring is faint.
By BeenEast Editorial · Published · Reviewed
1. Start with one cotton swatch
To make one indigo circle, lift a point in a cotton swatch and wrap a single rubber band just below the tip. The turns of the band squeeze the folds at that spot, limiting how much dye reaches them. When you unfold the cloth, the squeezed folds spread into a pale ring around the point you lifted.
Sources: Brooklyn Botanic Garden — DIY Shibori with Indigo
Start with a small square of prewashed, plain-weave 100% cotton. Have a rubber band, gloves, a basin of clean water, and a tray for drips. Follow your kit’s instructions to prepare the vat in a dye-only container with a lid. The timing and finishing order below come from the Jacquard quick-start sheet.
Sources: Jacquard — Indigo Tie Dye Kit and detailed instructions · Jacquard — Indigo Tie Dye Kit Quick Start
2. Pinch the center, bind the cloth, and wet it
Lay the cloth flat and pinch a point with room around it (1). Lift it straight up so folds hang down on all sides. Wrap one rubber band several times around the same narrow spot below the tip (2). Keep the turns side by side. Gently tug the loose cloth below the band. If the band slides or the folds pull to one side, rewrap before you wet the swatch.
Sources: Jacquard — Indigo Tie Dye Kit Quick Start
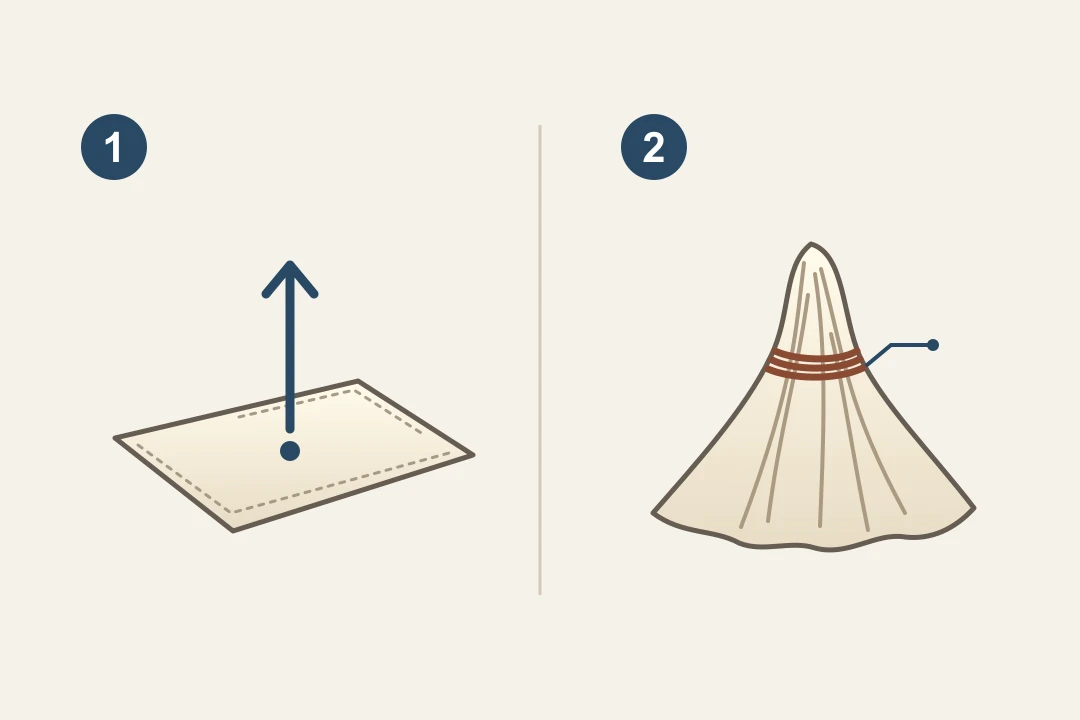
The lifted tip becomes the center. The band marks the part of the folds that will open into the ring. When you gather the same cloth in the same way, placing the band farther below the tip generally puts the pale line farther from the center. The thickness and spacing of the folds can still change the outline.
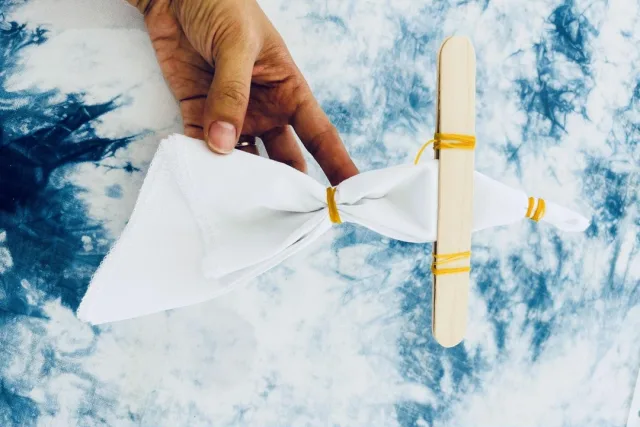
Soak the tied swatch in clean water until the loose cloth is wet through. With gloves on, gently squeeze out excess water and trapped air. Check that the band is still where you put it before moving to the vat.
3. Dip the swatch below the surface
Move the surface film aside if your kit directs you to. Lower the wet swatch slowly, with the whole piece below the surface. Gently move the loose folds without shifting the band. The Jacquard quick-start sheet calls for 30 seconds to 1 minute below the surface. Follow your own kit’s timing if it differs.
Sources: Jacquard — Indigo Tie Dye Kit Quick Start
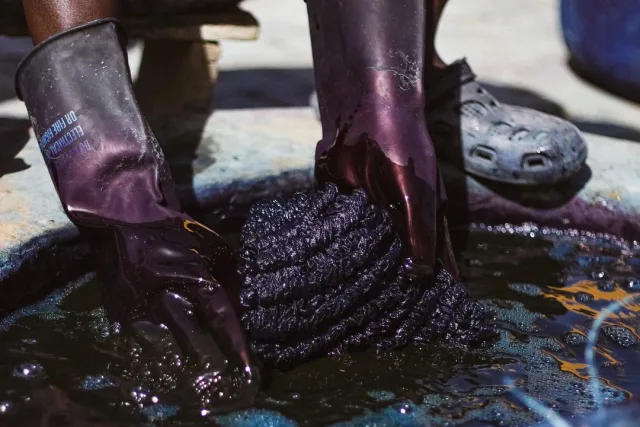
Lift the swatch slowly and let it drain into the vat. Keep the band on while the swatch airs and through any additional dips.
4. Let both sides turn blue in the air
Set the swatch on a dye-only tray over a protected surface. The exposed cloth may look green at first. It turns blue as the indigo reacts with oxygen in the air, a change called oxidation. Give both sides air by turning the bundle. Jacquard specifies 20 minutes for this step.
Sources: Jacquard — Indigo Tie Dye Kit Quick Start
After the full air time, look at the exposed blue. If you want a deeper background and your kit allows another dip, go back to step 3 with the band still on, then air both sides again. When you’re happy with the background, move on to step 5. Judge the final shade once the swatch is washed and fully dry.
5. Unbind, wash, and read the dry circle
After the final air step, the Jacquard quick-start sheet says to remove the band, rinse the swatch, then wash it with mild detergent and warm water. Follow the finishing order for your kit. Spread the cloth flat to dry and look for a pale outline around the pinch point.
Sources: Jacquard — Indigo Tie Dye Kit Quick Start
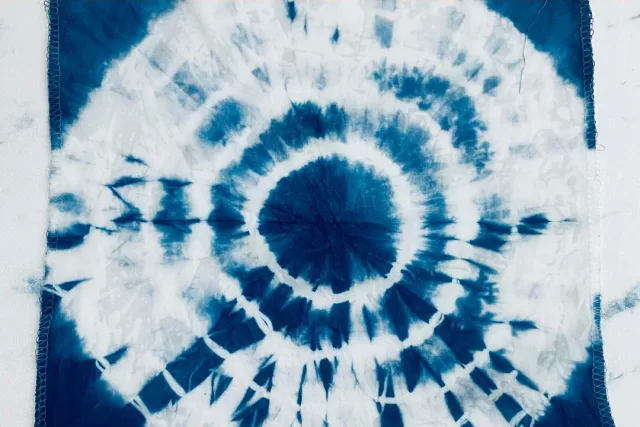
Check the washed, fully dry swatch in even light. Follow the pale band once around the center, then look at the blue field beside it.
| What you see | What to check first |
|---|---|
| Soft edge, continuous ring | Check that you can follow the pale band all the way around. If you can, keep this swatch as your reference before changing the binding. |
| Ring fades or breaks on one side | If the blue nearby is even, check the before photo or tying notes for a slipped band or folds pulled to one side. Rewrap a fresh matching swatch and keep the other settings the same. |
| The blue field is patchy too | First check that the whole swatch was wet through and stayed below the dye surface. If both checks pass, check the vat against your kit instructions before dyeing another swatch. |
Cut two matching swatches from the same cloth to compare ring size. Record the distance from the tip to the band on each. Change only that distance and use the same band, wrapping method, and dye cycle. Wash and dry both before comparing how far the pale ring sits from the center. If your first swatch had a slipping band, repeat the original position and fix the wrap before testing size.
Continue reading
Reuse and citation
English PDF and Markdown contain the text; their photo links open the illustrated guide.
BeenEast Editorial. How to Tie-Dye an Indigo Circle on Cotton. Version 1.0 (2026-11-13). https://community.beeneast.com/guides/hand-dyeing-indigo-circle
References
Jacquard — Indigo Tie Dye Kit and detailed instructions