

How Ties, Clamps, and Stitches Create Resist-Dyed Patterns
See how ties, clamps, and stitches limit where dye reaches the cloth, and how to recognize the marks they leave.
By BeenEast Editorial · Published · Reviewed
Why resist dyeing leaves pale areas
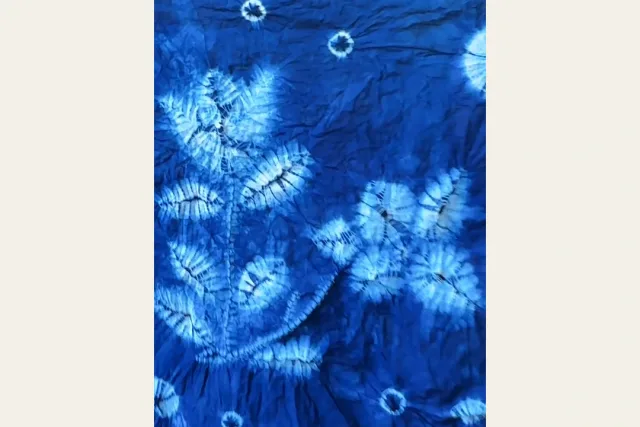
A resist makes it harder for dye to reach part of the cloth. A tight tie, a clamp, or a row of stitches pulled snug presses layers together. Exposed cloth takes up dye more readily. Open it up and you may see a pale ring, a repeated shape, or a line.
Sources: MFA Boston — How cloth is bound and clamped for shibori · Arimatsu-Narumi Tie-Dyeing Museum — Stitching and gathering
Pick a recognizable spot along the edge of a pale mark. Then look for that spot in a preparation photo or in the maker’s notes.
A tie presses a narrow band of cloth
A tie squeezes the cloth where it wraps around a bundle. Tie off a small pinch of cloth and you may get a pale ring. Tie a folded strip and you may get a pale band across the cloth. The folds under the tie help determine whether the mark stays continuous.
Sources: MFA Boston — How cloth is bound and clamped for shibori
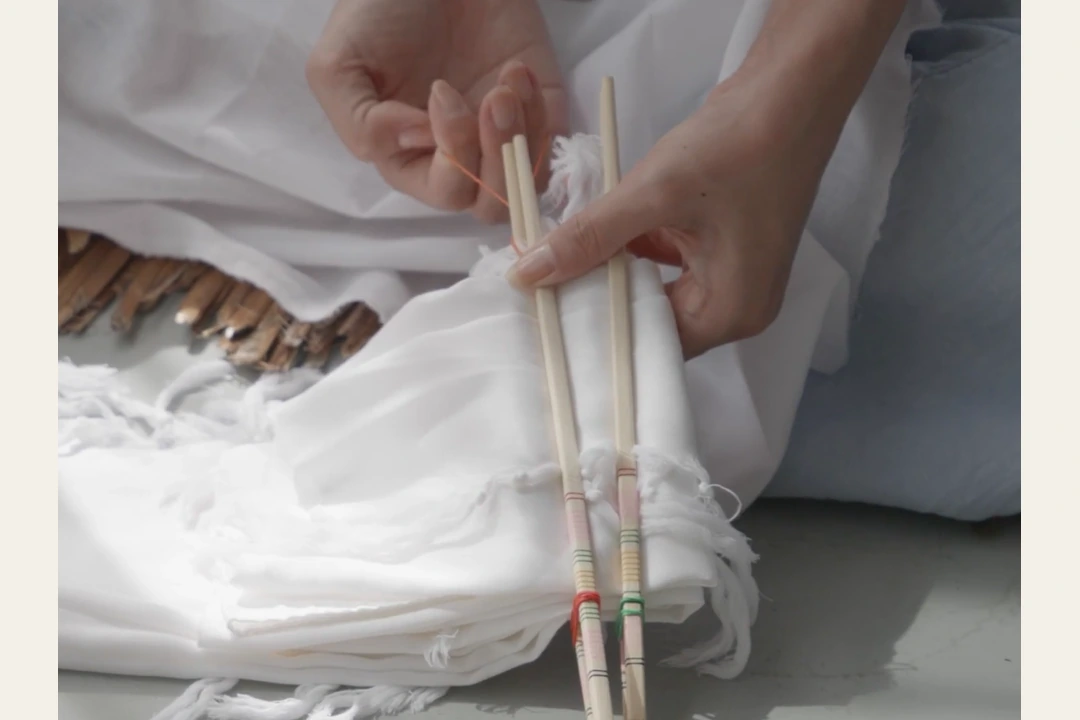
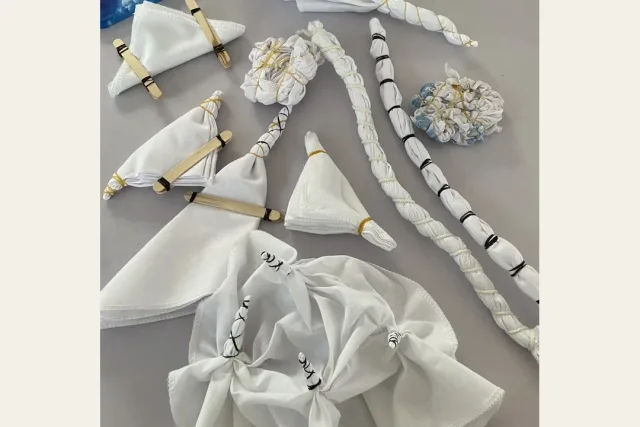
In your own preparation photo, pick one tie and note which end of the bundle it was near. Use that position to find the pale mark after opening the cloth.
Folds repeat a clamp mark
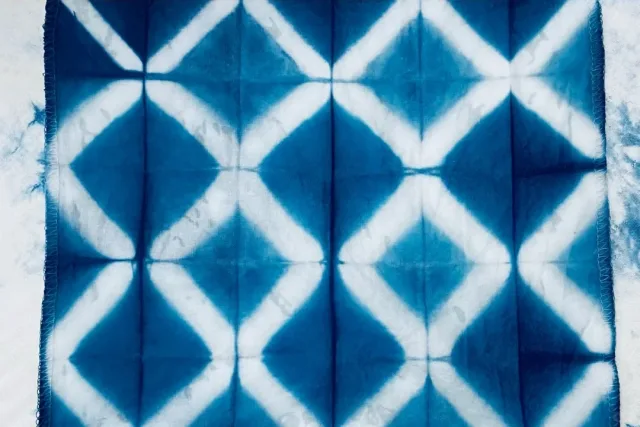
Back-and-forth folds lay parts of the cloth directly on top of one another. In itajime, a Japanese clamp-resist method, plates or bars press that stack together. Dye reaches less of the cloth under pressure. When you unfold it, the same shape can appear in several places.
Sources: MFA Boston — How cloth is bound and clamped for shibori
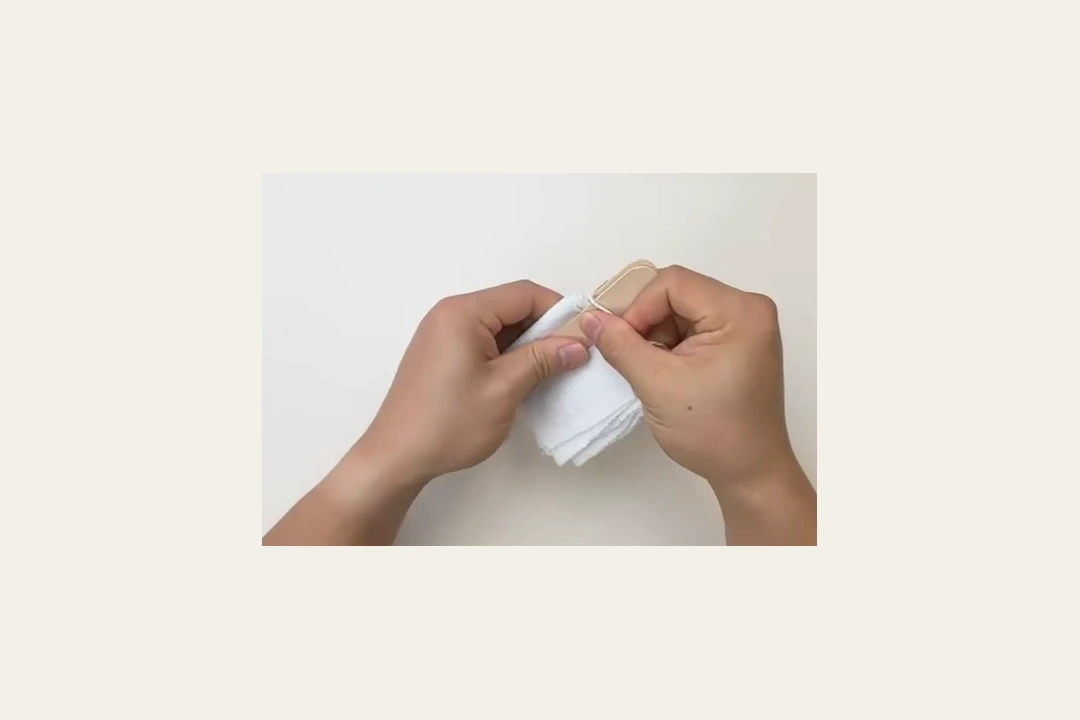
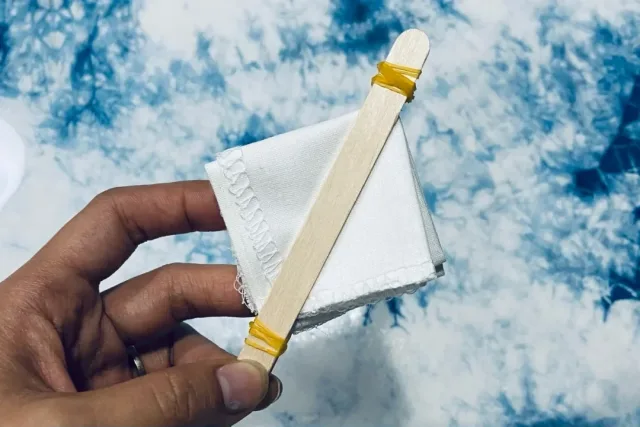
Find the narrow contact line under the sticks, then trace one pale diagonal across the opened cloth. The maker showed these two views together. The open view shows the repeat across the whole cloth.
Gathered stitches leave a pale line
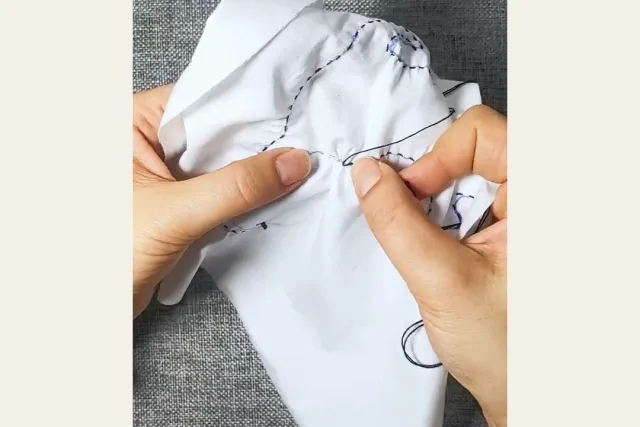
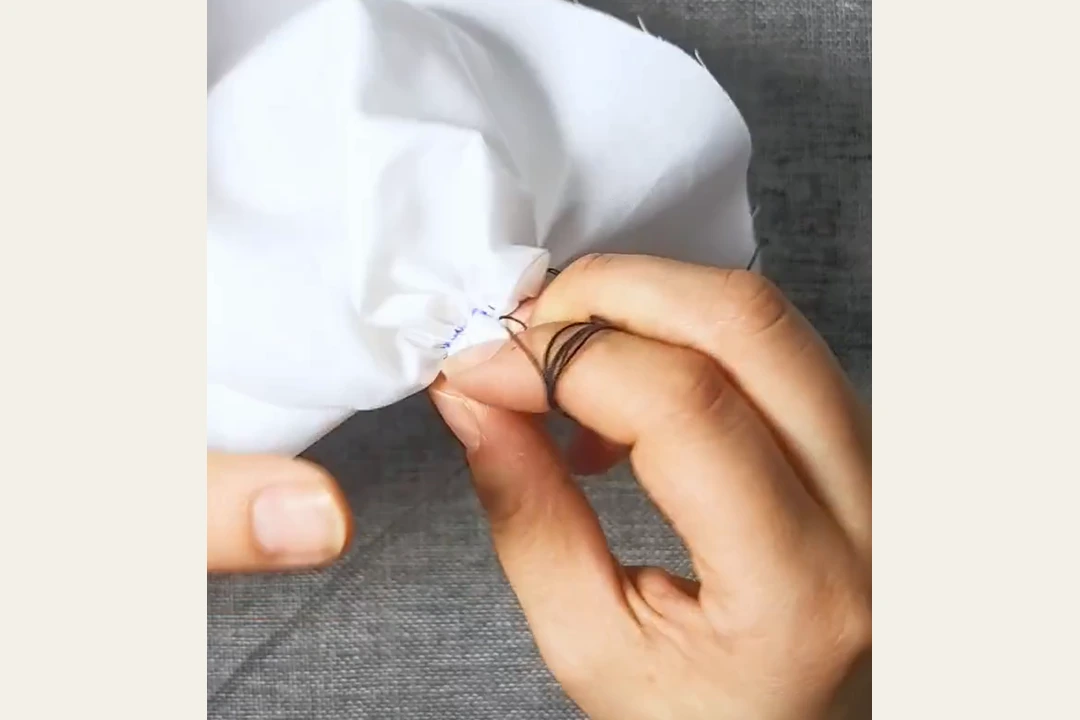
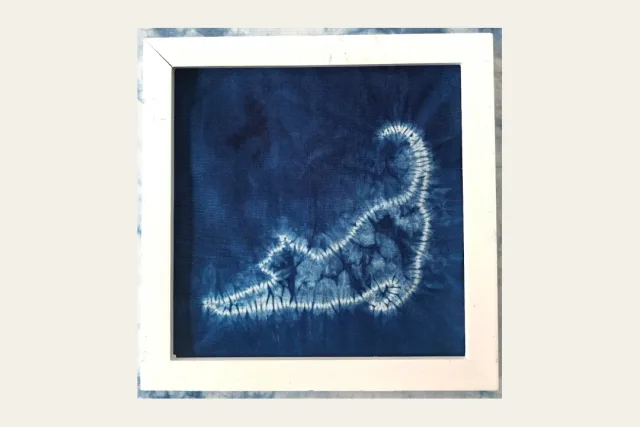
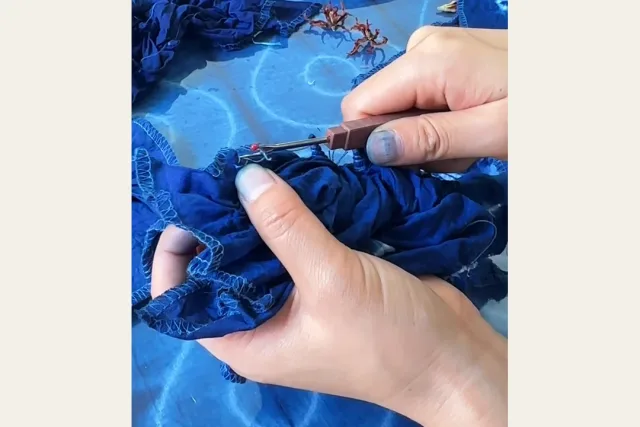
Start with a running stitch. Pass the needle in and out along the line you want to see on the cloth. When you pull the thread, the cloth bunches into folds along that line. Dye has a harder time reaching into those folds, so a pale line can appear when you remove the thread.
Sources: Arimatsu-Narumi Tie-Dyeing Museum — Stitching and gathering
Look for the short, dark stitches on the white cloth. On the finished cat, find the pale line that curves up into the tail.
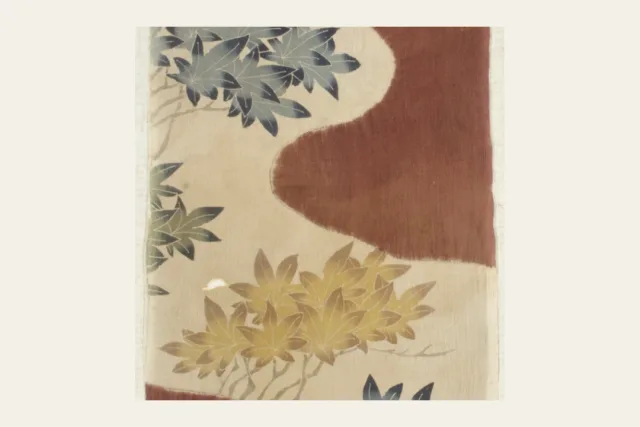
On the silk robe fragment below, the Met points to wrinkles where the white silk meets the purple ground as evidence of stitch resist. The maple leaves were outlined with resist paste before they were colored.
Sources: The Met — Piece from a Robe with Pattern of Maple Leaves (2001.428.18)
Test one change on two swatches
Cut two swatches from the same cloth. Fold them the same way, then tie each one in a different spot. Label and photograph them before dyeing. Follow the same dye and finishing instructions for both.
Sources: MFA Boston — How cloth is bound and clamped for shibori
Once both swatches are washed and dry, lay them side by side in even light. Use the preparation photos to see whether the pale marks moved with the ties. If the positions are hard to match, check which way you folded the cloth and where each tie sat.
Continue reading
- How to Tie an Indigo Resist Knot in Cotton
- How to Dye a Pale Line with Indigo Stitch Resist
- How to Make a Repeating Indigo Pattern with Clamps
- How to Tie-Dye an Indigo Circle on Cotton
- How to Compare Two Hand-Dyed Swatches
- What Fabric Should You Start With for Hand Dyeing?
- Before Your First Hand-Dyeing Session
Reuse and citation
English PDF and Markdown contain the text; their photo links open the illustrated guide.
BeenEast Editorial. How Ties, Clamps, and Stitches Create Resist-Dyed Patterns. Version 1.1 (2026-11-13). https://community.beeneast.com/guides/hand-dyeing-resist
The cat and floral photos show two different textiles. The museum fragment is a third example.
References
MFA Boston — How cloth is bound and clamped for shibori
Arimatsu-Narumi Tie-Dyeing Museum — Stitching and gathering
The Met — Piece from a Robe with Pattern of Maple Leaves (2001.428.18)